Thursday, January 19, 2012

Newcastle Brown Ale Clone... (Or Something Close)

Even though Newcastle wouldn't pass the reinheitsgebot (because it is brewed with some level of the corn) it is still one of my favorite commercial brown ales.  I found a clone recipe on the forms for this beer and decided I wanted to try it out.  http://www.homebrewtalk.com/f67/aberdeen-brown-ale-newcastle-clone-ag-36912/.  The real Newcastle is a blended beer crafted by brewing two different beers and combining them in a 60/40 ratio.  BierMuncher got the recipes for the two blends from an issue of BYO and blended the ingredients down to a single recipe.  From his comments, it sounds like he got close to a clone by doing this.  Since I was going to be dealing with liquid yeast on this one (Wyeast - 1099), I made a 1 quart starter.  I bought 2 smack packs and used one for the starter and pitched the other on brew day.
 My mash-in took a strike temp of 168.5*F to reach a mash-in temp of 154*F and a 1.1 qt/lb mash thickness.
I heated up my sparge water to a little over 170*F in order to heat the grain bed up to a mash-out of 170*F.  My sparge thickness was 2 qt/lb, which brought the water level to the top of the mash tun.  
After run-off from the mash and sparge, ended up collecting about 8.25 gals or wort.  Plan was to hit around 8 gals and boil down to around 5.5 gals to leave 0.5 gal of trub.
After the boil I added the last of the hops and cooled down to 70*F in 15mins.  Over all easy brew day... Hit my numbers without any road blocks or problems. I did take this opportunity to calibrate my hydrometer and the refractometer that I got from my loving wife for Christmas.  
Using distilled water I found out that my hydrometer I have been using for years is off by 4 gravity points!  While my new refractometer is spot on and thanks to some calculations I found online I can completely replace my hydrometer with my refractometer.  With the O.G. at 1.055 that should put us right around 5% ABV.  

This was one of the fastest fermentation times I have ever seen!  I brewed this on a Saturday and it was finished by Monday afternoon.  I took a gravity reading and got 1.020, which was a little high for what I wanted.  So I pitched some amylase enzyme and over the course of next few days, took it down to 1.014 which was right in line with what I wanted.  

Monday, January 9, 2012

Honey Wheat Ale... Ale's What Cures Ya!

     It's been awhile since I last brewed because I've been reserving my beer budget for the kegerator bar build that I just finished.  I knew that in my next brew I wanted to do a honey beer and something with a fairly fast grain-to-glass time.  I felt that my founding fathers ale had a solid wheat base that would probably pair nicely with honey.  So I pulled up the old recipe and went to work putting honey with it.
Brice stirring the mash.  Target temp was 153
I decided to leave the grain profile the same but change the hop profile.  In fact I thought I might experiment by pairing honey wheat grain bill with more of a pale ale hop profile.  Since one of my favorite hops is centennial I wanted to use that.  However, austinhomebrew.com didn't have any centennial or cascade so I ended up settling with a new type of hop I haven't tried before called Zythos.
Recirculating the run-off
I started the boil at 8.5 gals and boiled down to a little under 6 gals.  I pulled off 5.5 gals to leave ~.5 gal of trub.  I ended up forgetting to drop in the whirlfloc tablet during the last 15 mins of the boil but since it is a wheat beer the final product will be cloudy enough that it wouldn't have mattered.
Rapi-Kool Paddle in action
Cooling went very fast with the new addition to my cooling setup (Rapid Cool Paddle).  The OG was 1.070 with a overall eff of 85%.
Hop butt...
12 hours later I had vigorous fermentation...  FG came in around 1.012 for a total ABV of 7.6%.

After tasting I have to say I like the results (still a little young) but with as much hops as I added to the brew I expected a much more hop presence than I have.  With these results I will probably not brew with Zythos again or at least not for an aroma or flavoring hop.
Three Weeks Later from the keg...
Southern Sweet Hard Cider Brew

About a week or so after brewing this I still hadn't got my fill for brewing for the month. So I decided to re-brew my southern sweet hard cider that has been pretty popular.  It's a very simple recipe.  The trick is that in order to back sweeten you have to stabilize the cider (halt fermentation).
Southern Sweet Hard Cider Ingredients
There are a few difference ways to do this.  You can chemically stabilize the cider using K-Sorbate and K-Meta-Bisulphite.  You can also use pasteurizing methods.  Keeping in mind some people have sulphite allergies.  I instead choose to keg my cider.  That way since my kegerator is <40*f the cider will not pick up and ferment any further after back sweetening.
The catch is that if I bottle off the keg the bottles need to say cold. If the bottles warm up to room temp they could explode.  Cider seems to take a lot longer to ferment than beer.  So it will probably be 2-3 weeks before I'm ready to keg and back-sweeten.

New Kegerator Build

After drooling over kegerator builds I had seen on homebrewtalk.com and other places, I finally decided to pull the trigger on my plans to build one of my own.  


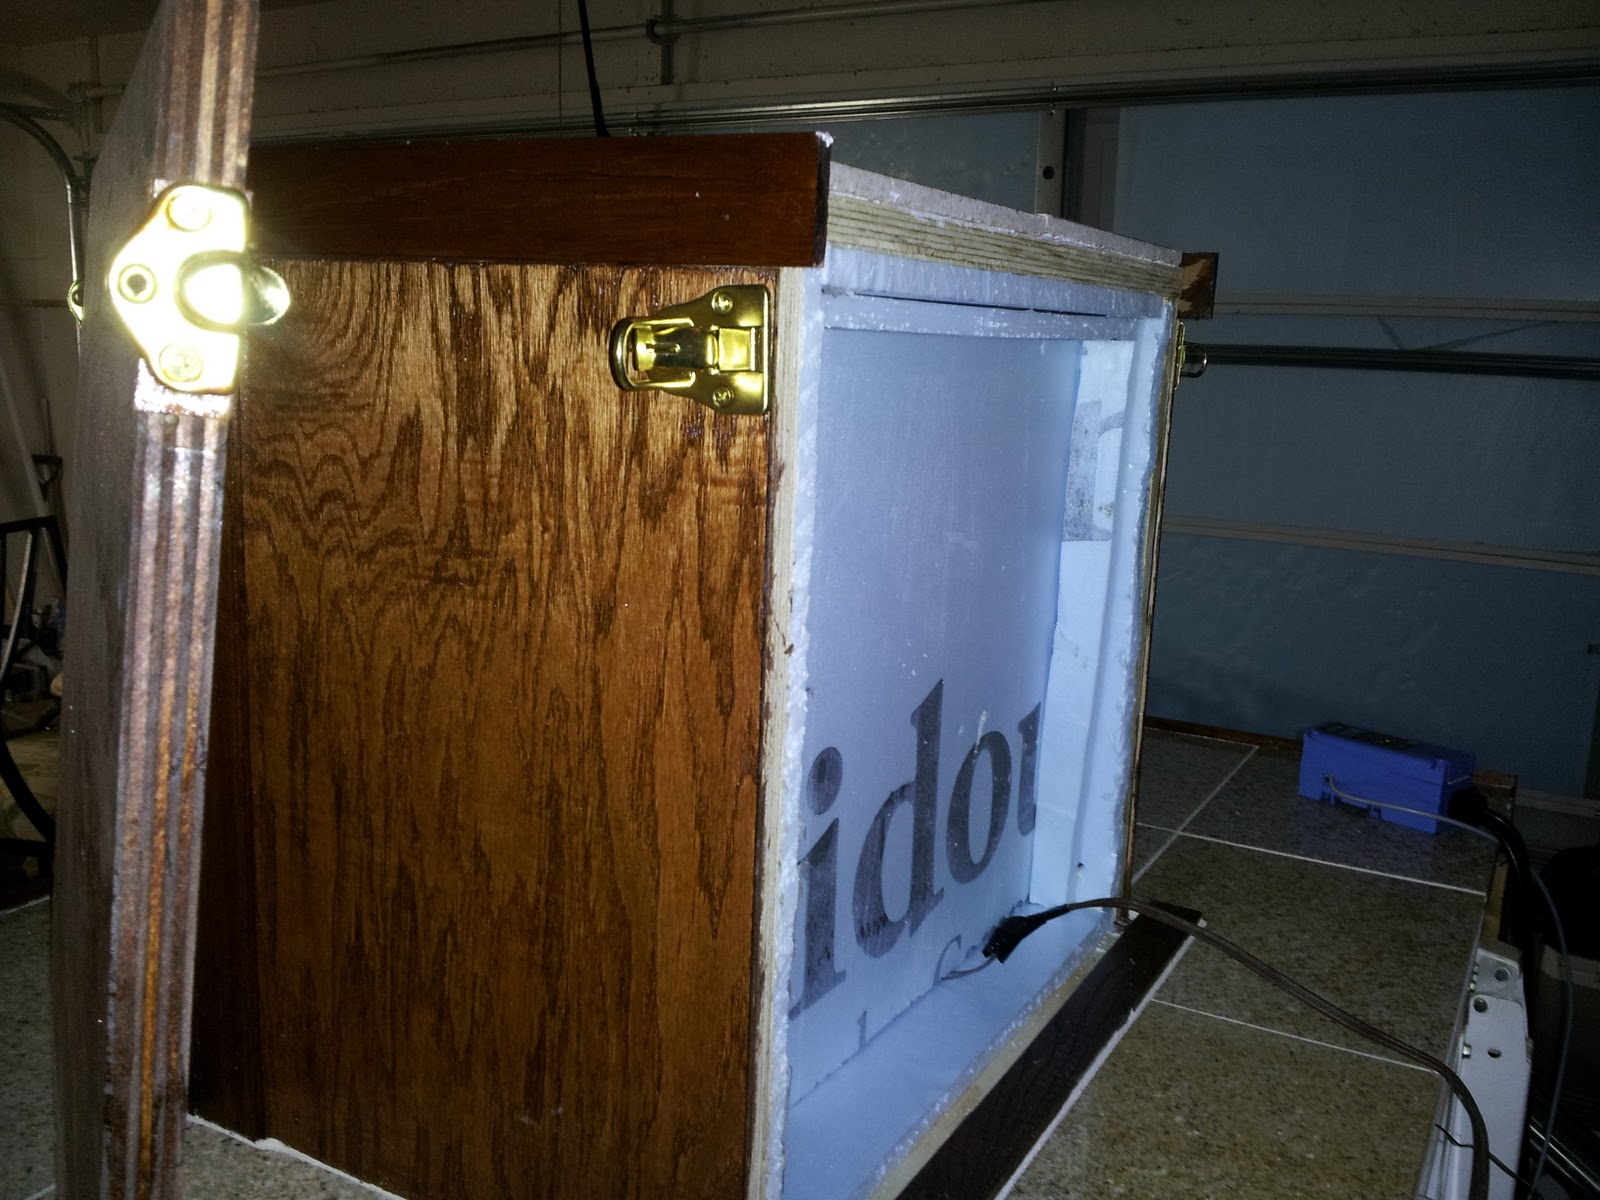
So I bought a old  15 cft. Gibson chest freezer for $100 and me and my father built a coffin style bar casing around the freezer.  I'll eventually post some pictures showing the build process start to finish but for now I thought I would just post some pictures of the finished product.


As you can see the chest freezer lid is bolted to lid of the build.  I can fit 6 kegs and a C02 tank in this chest freezer (hints the 6 taps).  And Yes... If you were wondering, the top is tiled with granite tiles and it is very heavy.  The base of the build provides just enough height to ensure that the freezer seal is not overly pressed by the weight of the top.  If you look at the picture to the left you can see I added pressurized gas support lifts to the lid in order to cut down on the weight of the lift.


The coffin box was designed with future access in mind.  I have a small fan to circulate cold air from the chest freezer cabin into the coffin around the taps and back.  This is to help with the temperature differential between the beer in the keg and the beer coming out of the tap.  If there is not proper circulation between the coffin and the freezer every first pour would be foamy until line cooled.

Monday, October 3, 2011

Clone Brew: Sierra Nevada Pale Ale

Sierra Nevada happens to be one of my favorite breweries and their Pale Ale is one of my favorite beers.  I found a clone recipe in an issue of Brew your own magazine about a year ago and brewed it up.  It was very close if not spot on.  So I decided I wanted to re-brew this awesome and surprisingly simple pale ale.  After all, imitation is the sincerest form of flattery!  Their site gives a vague recipe for their pale ale showing 2 malts (2-Row & Caramel) and 3 hops (Magnum, Perle & Cascade).  Which falls right in line from the clone recipe that I have:

          10.0 lb 2-Row Brewers Malt
          1 lb Crystal Malt 60°L
          0.5 oz Magnum (14.5%) - added during boil, boiled 60 min
          0.5 oz Perle (8.3%) - added during boil, boiled 30 min
          1.0 oz Cascade (5.5%) - added during boil, boiled 10 min
          2.0 oz Cascade (5.5%) - steeped after boil
          1.0 oz Cascade (5.5%) - added dry to secondary fermenter

I started this brew after work.  So I didn't get started even collecting the brew water until 5:00.  Which is why it was dark before I even started the boil.  Even so this brew-day was about 5-5.5 hours long.  My strike temp was 170*F to hit a target mash temp of 153*F for a 90 min mash.
Left to Right: First runnings from the mash, Spent Grains
My strike temp was too high.  So when I added the grains I had to add about a pint of cold water to cool it down to my target temp of 153.  From there it held fairly steady for the full 90 mins.  I ended up getting around 75% brew house efficiency on this brew.
Starting the boil and cooling
I collected 8.25 gals of wort from the grains and boiled for 75 mins to end up with 5.25 gals (leaving behind 0.25 gals of trub).  My OG reading was 1.058.  I pitched 2 packs of US-05 re-hydrated dry yeast and placed the fermenter in the fermentation chamber at 65*F.  I'll let primary fermentation go for about a week then transfer to a secondary and add the dry hops. 
Adding oxygen through a aquarium pump and a diffusion stone. 
Active fermentation started within 12 hours after pitching the yeast.

Tuesday, September 27, 2011

Oatmeal Cream Stout

     I don't think of brewing stouts very often because most people I know don't like them and I'm forced to drink the entire batch myself.  Which is ok... I like stouts but I prefer hoppy ales which is why I tend to brew more beer in that classification.  My favorite stouts are thick creamy rich stouts often sweetened with milk sugar.  The only stout I have made until now was a Java Stout (obviously a stout brewed with coffee).  I debated between brewing a mocha stout with coffee and chocolate or trying my hand at a cream stout.  I finally decided to try brewing a cross between a cream stout and an oatmeal stout (an Oatmeal Cream Stout).

My strike temp was 163.5*F to hit my target mash temp of 153*F and held for 90 mins.  It smelled almost like coffee throughout the house during the mash :).  I accidentally let the strike water cool too much before adding the grains on this batch.  So I had to quickly heat up a quart of boiling water to add to the mash.  That ended up putting my mash a little thicker than I wanted being around 1.44 qts/lb.  

because of rain I ended up starting the boil in the garage.  Started with a very full boil (8.75) because of additional hot water added during the mash to maintain the target temperature.  Ended up boiling for 90 mins and collected 5.5 gals (leaving 0.5gal of trub behind).

During cooling the garage door functioned as a convenient place to place to stick my wired thermometer.  My OG reading came in around 1.064 which puts me at a brew house eff of 80% on this batch.  After cooling the wort down into the lower 70s I whirl-pooled the kettle and drained the wort into the carboy.  Then as normal added oxygen using a diffusion stone and an aquarium pump.

I pitched 2 packs of WYeast - 1084 Irish Ale.  The packs were dated to be about a month old.  Thinking that the yeast should be plenty viable I felt no need for a starter.  After about a few days of fermentation I noticed the air lock had stopped bubbling.  So I took a hydrometer sample and saw evidence of a stuck ferment (hydrometer reading of 1.034).  I quickly took and re-hydrated a package of US-05 dry yeast I had laying around (just for cases such as this) and pitched it in the carboy then gently stirred the yeast cake on the bottom back into solution.  24 hours later I did not see any signs of further fermentation.  So I decided to make a starter out of another package of US-05 and pitch at high krausen.  That seems to have worked.  4 days later I'm at 1.020.  I'll give it another week then bottle carb/condition.
Sanitizing bottles and adding priming sugar solution to bottling bucket
On to bottling... Normally I keg.  So Its been a while since I last bottle conditioned/naturally carbonated a batch.  Since I have a small chest freezer converted into a kegerator, I don't have the space to serve more than 2 kegs at a time.  Unfortunately that leaves me with the task of bottling this entire batch and using priming sugar to carbonate in the bottle.
Transferring beer to bottling bucket and gently stirring to mix in the priming sugar 
Using the Keg and force carbonating is much easier and less time consuming.  So I prefer that method when I can and then bottle off what I need from the keg.  The process for bottling this batch took about 2.5 hours (from sanitation to bottled) as compared to 30 mins. max for a keg setup.
Placed bottling bucket on top of refrigerator to get better gravity flow 
When bottle conditioning/carbonating a priming sugar solution is made with a measured amount of dextrose and water then mixed into solution and bottled.  The yeast will eat the priming sugar and produce C02 which will carbonate the beverage.  So now I will store these bottles at room temp for 2-3 weeks to completely carbonate.

Sunday, August 14, 2011

Dark Double IPA - Midnight Oil

    This month I decided to re-brew my dark IIPA again.  This beer is unique in that there is really not an officially accepted BJCP style for this type of beer.  The unofficial style name is "Cascadian Dark Ale".  I must admit when I first I brewed this I thought I was the first to make a dark version of an IPA but I soon learned that there was an unofficial style.  Currently this style is being considered by BJCP but it has not been accepted as of yet.  The taste is a lot like an IPA with the intense citrus aroma and taste with a very subtle hint of roasted malt.  De-bittered black malt (de-husked roasted malt) is used to create the color without imparting the harshness of the roasted malt. With a pound of hops for this 5gal batch, this beer will satisfy any hop lover.  
Recirculating the mash to set the grain bed
My good friend Justin joined me in brewing this beer to jump start his own brewing hobby from Mr. Beer no-boil kits to full 5gal batches.  Mr. Beer is a good way to start into this hobby.  I started with a Mr. Beer kit myself and after gaining confidence I needed I moved to extract boil kits.  Then to following extract recipes and eventually to all-grain. On this brew my strike temp was 163F to hit a target of 151F for a 90 min mash.   
Draining the brew kettle
I designed this recipe as a partial mash recipe with 16.25 lbs of grain and 3 lbs of DME (Dry Malt Extract).  I reserved the DME until the end of the boil just in case I needed it to hit my numbers.  I ended up with 80% eff. which put me right below hitting my goal original gravity reading of 1.090.  So during the last 30 mins of the boil I added in the DME.  
Gravity right before pitching the yeast... 1.102!
Adding the DME and boiling off a little more gave me 5.5gals at an original gravity of 1.102!  Which should give me ~11% ABV.  The first time I brewed this I hit around 1.089 and got ~9% ABV.  So this one should be a little stronger but the hops should balance it out. 
After about a week into fermentation I'll be dry hoping with a couple of ounces of Cascade and Centennial hops and then aging in a keg.

Monday, July 18, 2011

Brewing a Traditional Bock

I'm getting a late start on this months brew but the last couple of weeks have been busy and I couldn't figure out what I wanted to brew much less schedule a brew day.  I started thinking about the common commercial examples of a bock and then I realized there's not really a common commercial example.  Sure there is Shiner Bock of Texas and Michelob Amber Bock, but neither of these are true examples of a bock.  Instead they really are just american lagers with some darker malts to give them color.  There are a few different types of Bocks.  The first to be brewed was the traditional bock or "Dunkel Bock" others are sub-styles off of it.  The DoppelBock or "Double Bock" has the same flavor profile as the traditional bock, just more intense and with more alcohol.  The doppelbock was first brewed by German monks as "liquid bread" to sustain them during times of fasting, when solid food was not permitted.  The lighter bock, also know as Maibock, was traditionally drank during the summer months and is higher hopped and has a slightly different profile.  
Real commercial examples of a bock include: (Einbecker Ur-Bock Dunkel, Pennsylvania Brewing St. Nick Bock, Great Lakes Rockefeller Bock, Stegmaier Brewhouse Bock).


Home brew: Founding Fathers Ale
And collecting the water for the brew
I didn't get a lot of picture documentation on this brew because I got such a late start on the day at around 5:00.  I needed to work quickly so that I wouldn't be in for a long night.  Since we are in the middle of summer here in Arkansas, I decided that I would add an additional piece of equipment to my chilling routine to help get the wort down to pitching temps.  While preheating the mash-tun I added some star-san solution to sanitize my march pump and copper coil that I will be pumping the boiling wort through.  
Sanitizing my chilling coil and pump
I hit my target temp of 154*F with a strike temp of 167*F.  I used a thick mash (1.15 qt/lb) and a single 6 gal (2 qt/lb) sparge at 170*F.  
30 mins into the mash at 154*F 
I collected about 8.25 gals of wort for the boil with a Specific Gravity of 1.050.  Ended up getting 75% eff. out of this one.  The low eff may be due to the single step sparge.  I recirclulated the mash and sparge water, then transferred to the kettle to start the boil.
This part always reminds me of espresso
The kettle was pretty full so I had a few small boil-overs on this batch.  Due to the poor eff. on this batch, I had to boil for half an hour longer to hit my target O.G. of 1.065.  This ended up working out because I still had a full 5.25 gals left in the kettle.  I just wasn't able to leave as much of the cold break behind as I would have liked.


With the nigh-fall temp still in the upper 90's, even with the additional cooling, it took a good hour to get from boiling to 70*F.  I used 2 packages of Fermentis Saflager W-34/70 Dry Lager Yeast.  The pitching calculator on mrmalty.com said to use approx. 2.3 pkgs of dry yeast on this one.  I rounded down to 2.  


Fermentation in less than 12 hours later